Adding Employees
Add employees to your organization so they can receive perks and benefits through PerksPe.
Two Ways to Add Employees
✍️
Method A: Manual Entry
Best for adding a few employees one by one directly in the portal.
📁
Method B: File Upload
Best for adding many employees at once (bulk import via CSV/Excel).
Method A: Manual Entry
1
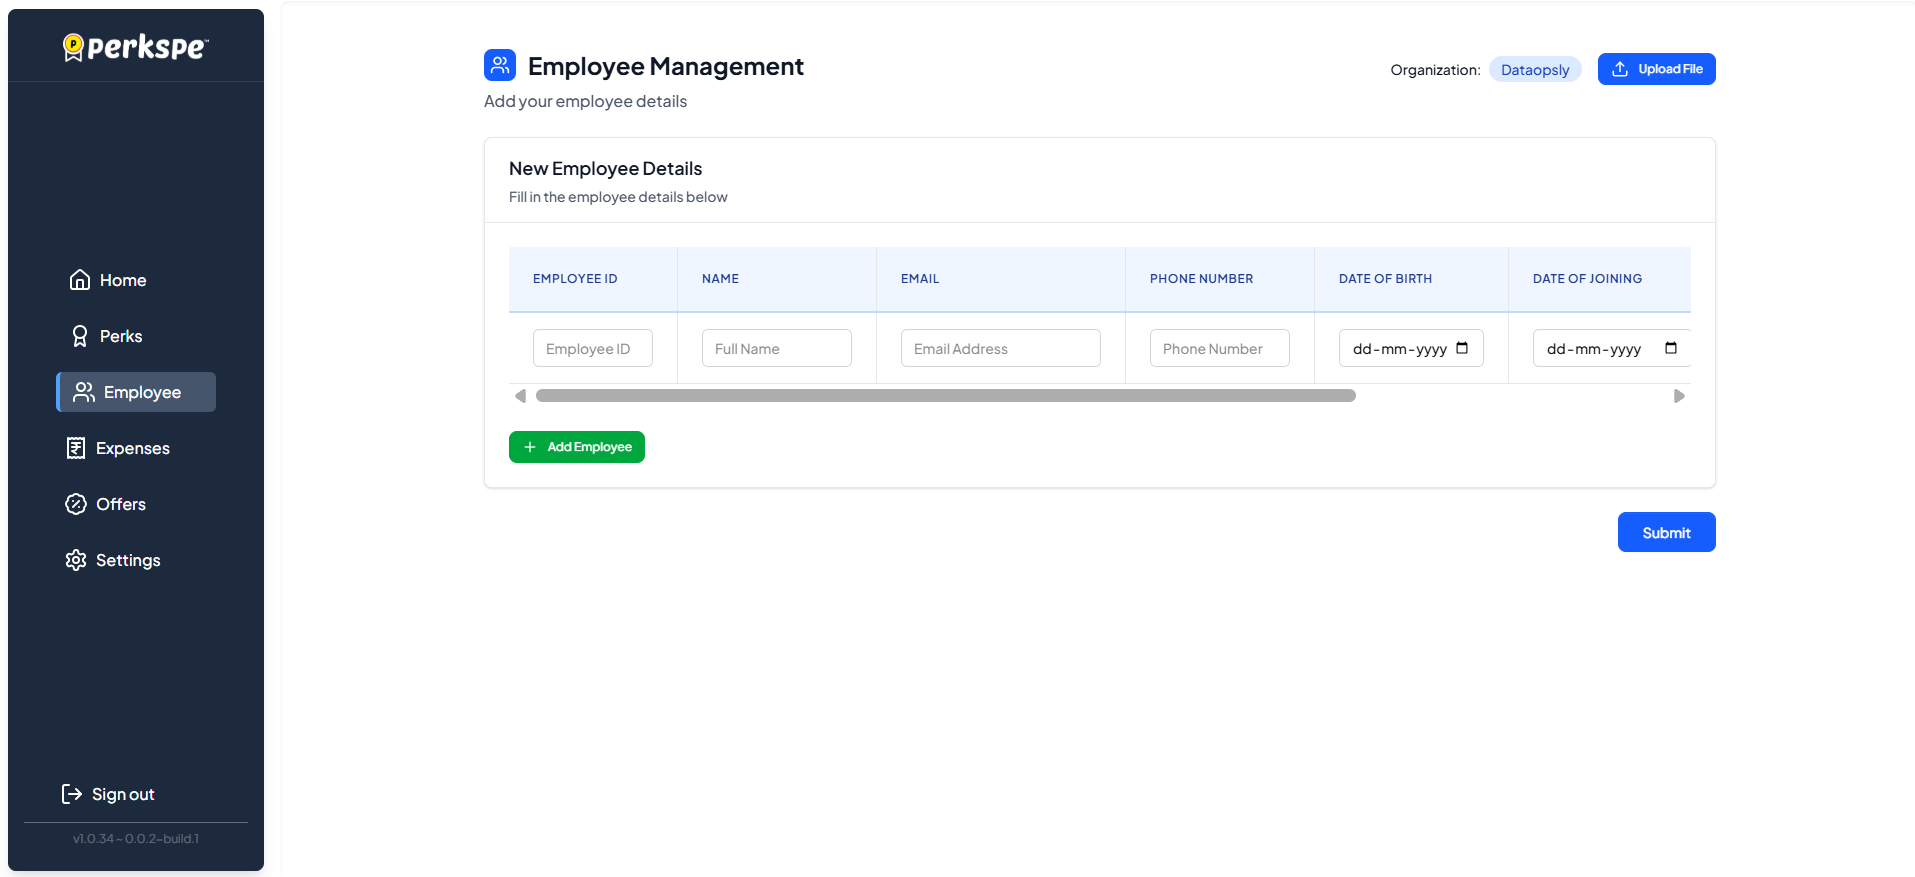
Go to EmployeesClick Employees in the sidebar, then click Add Employee.
2
Fill DetailsEnter name, email, phone, DOB, DOJ, and PAN number.
3
Add & SubmitClick + Add Employee to add them to the queue, then Submit.
Method B: File Upload (Bulk Import)
1
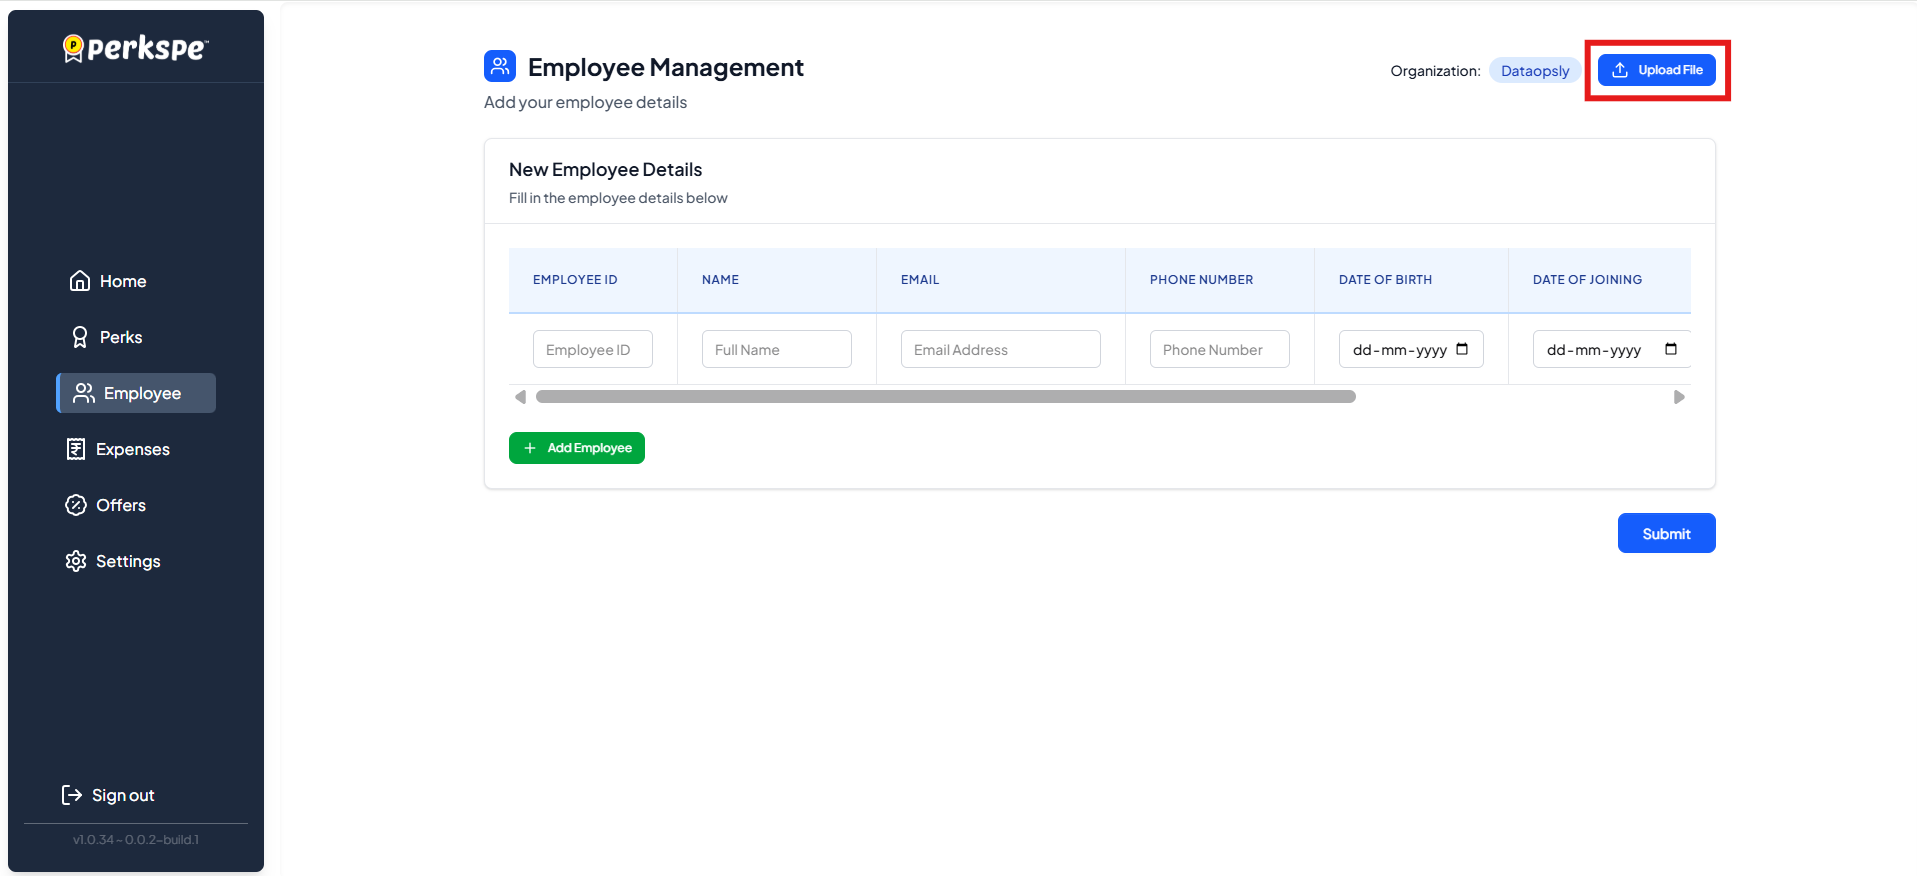
Click Upload FileOn the Employee screen, click the Upload File button.
2
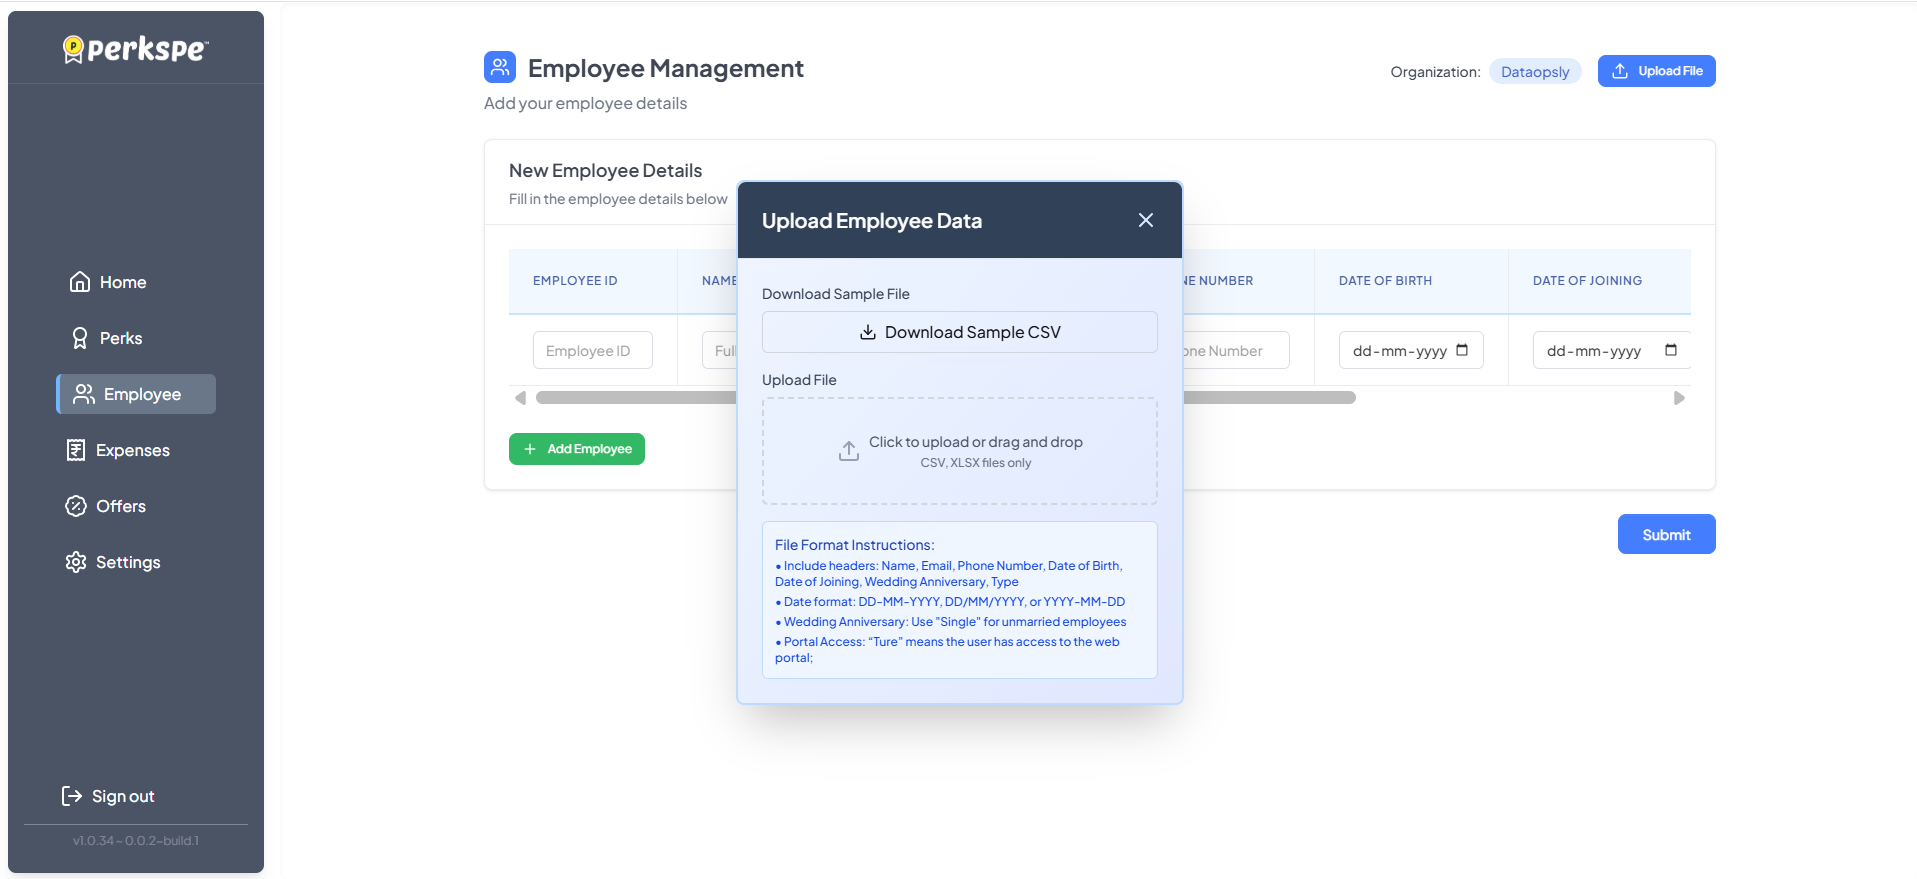
Prepare Your FileDownload the sample CSV. Ensure you have Name, Email, Phone, DOB, DOJ, and PAN.
3
Upload & SubmitDrag and drop your file, review the imported data, and click Submit.
Managing Employees
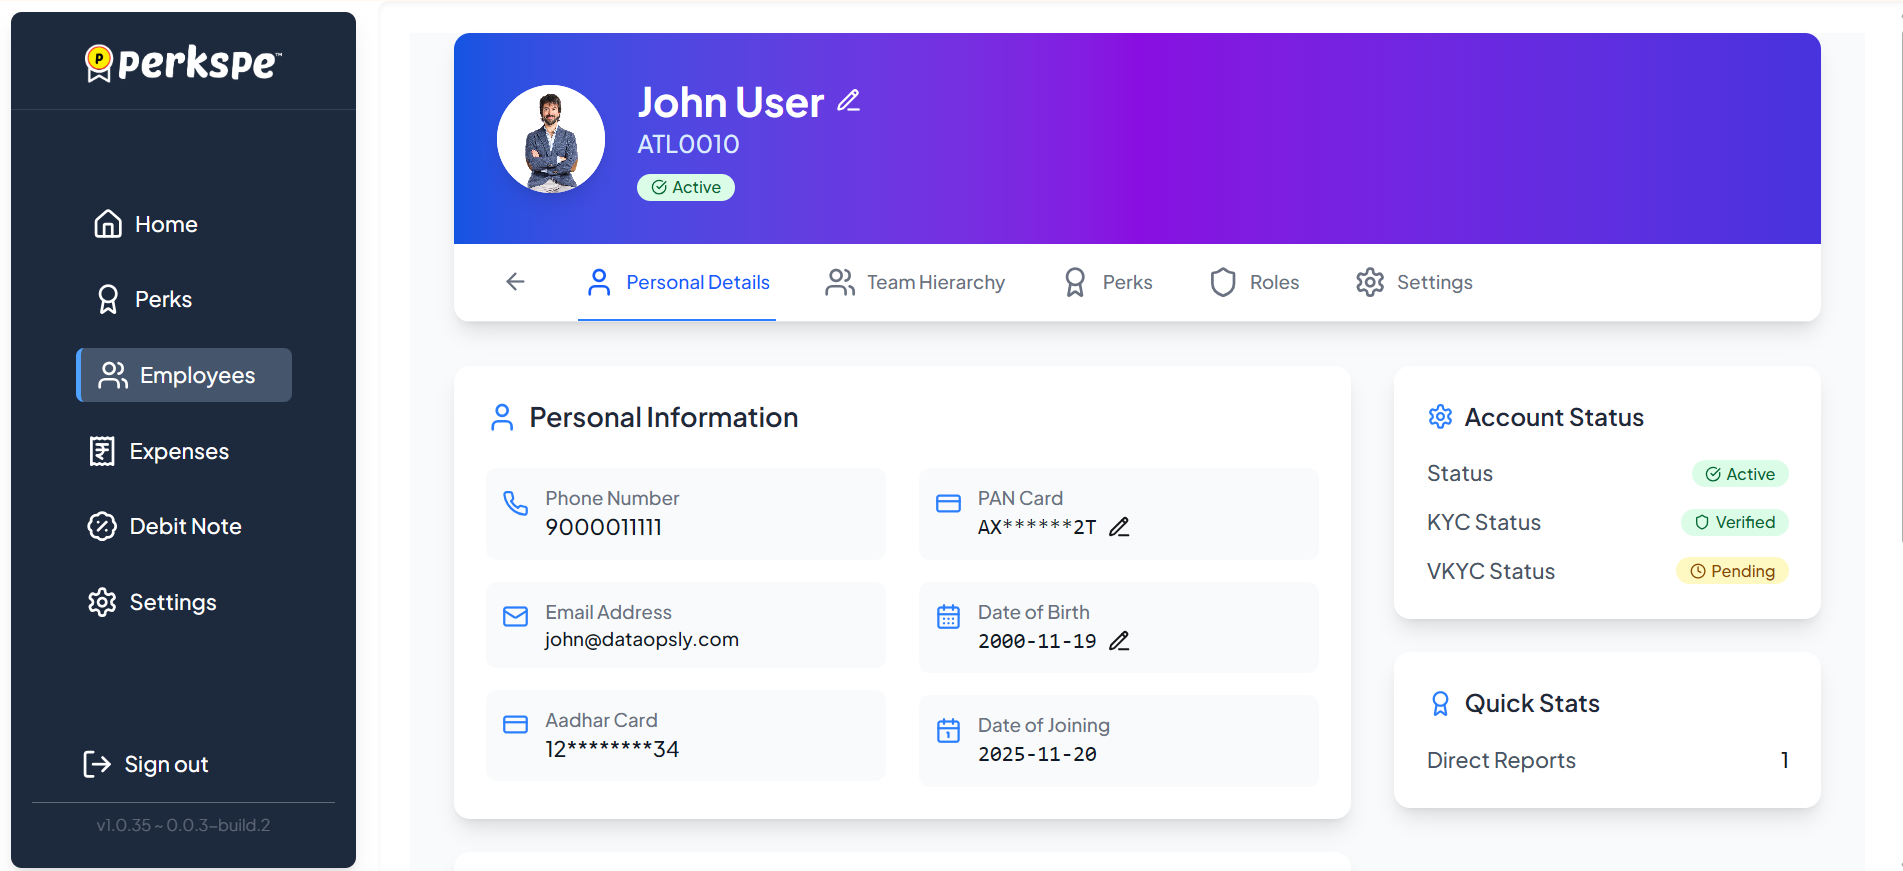
How to Edit Employee Details
You can modify an employee's personal information after they have been added.
- Navigate to the Employees list and select the employee.
- In the Personal Details tab, look for the edit icon (✎) next to the fields.
Editable Fields:
- Full Name
- PAN Card
- Date of Birth
note
Fields like Date of Joining and Aadhar Card cannot be edited.
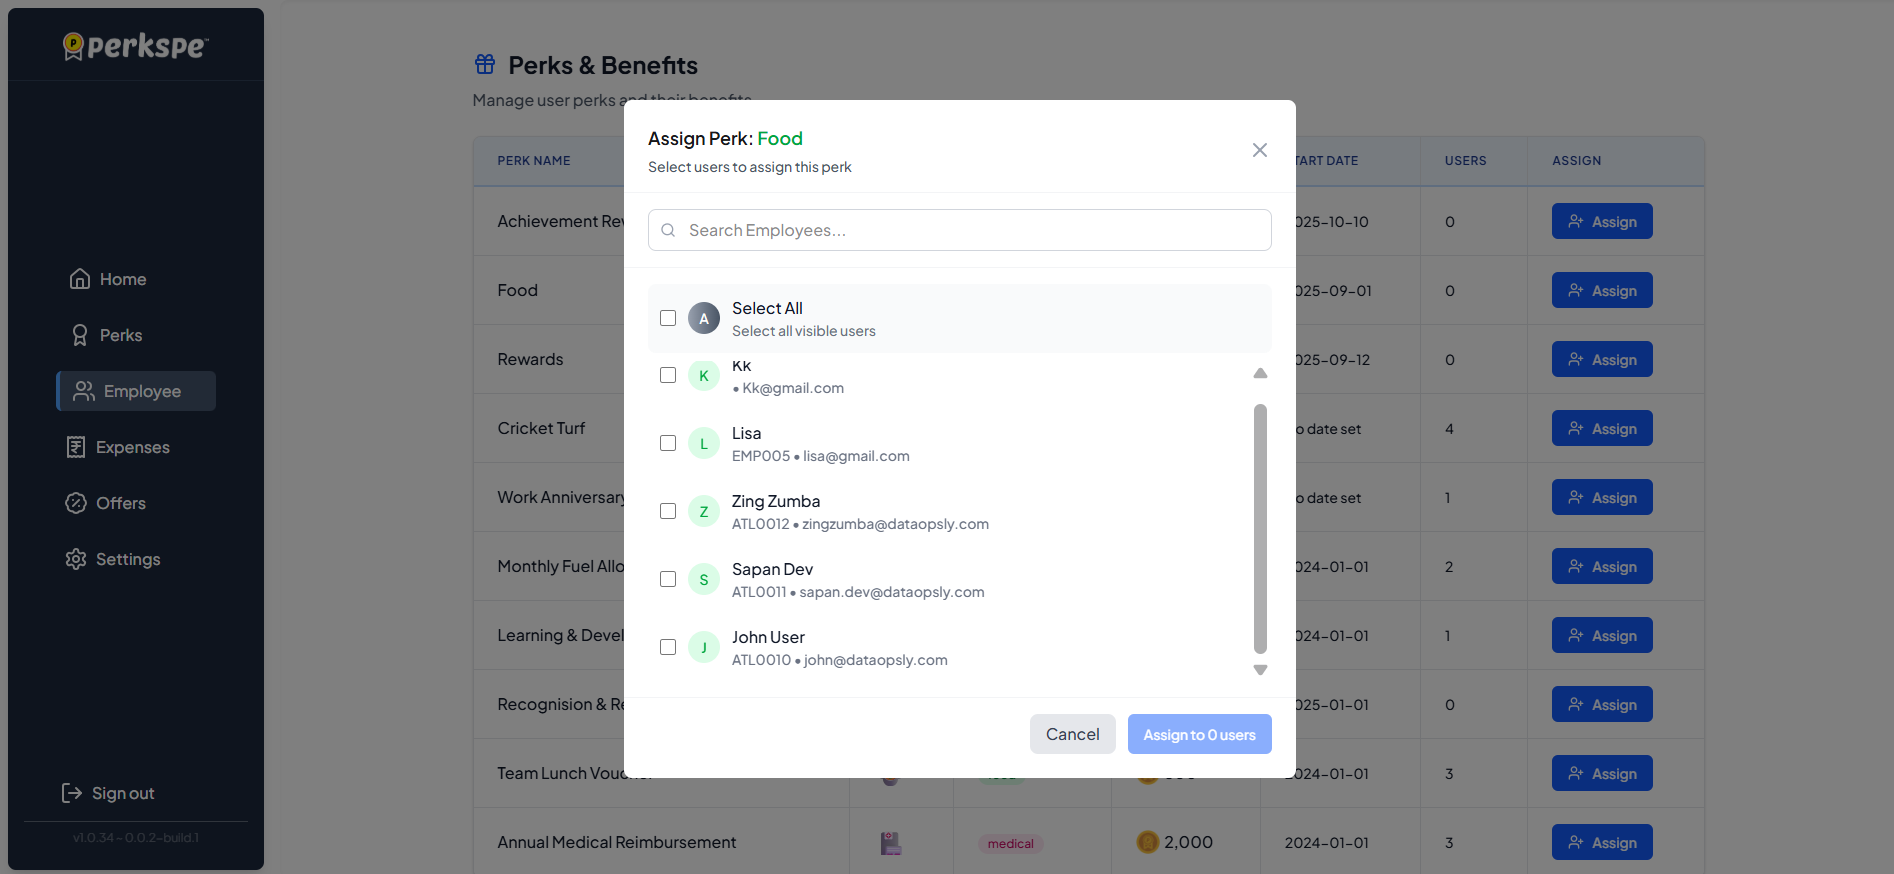
How to Assign Perks After Adding
Once employees are added, you can immediately assign perks to them.
- Click the Assign button next to the perk you want to allocate.
- Search and select the employees.
- Click Assign & Allocate.
Viewing Employee Perks (Table vs Card View)
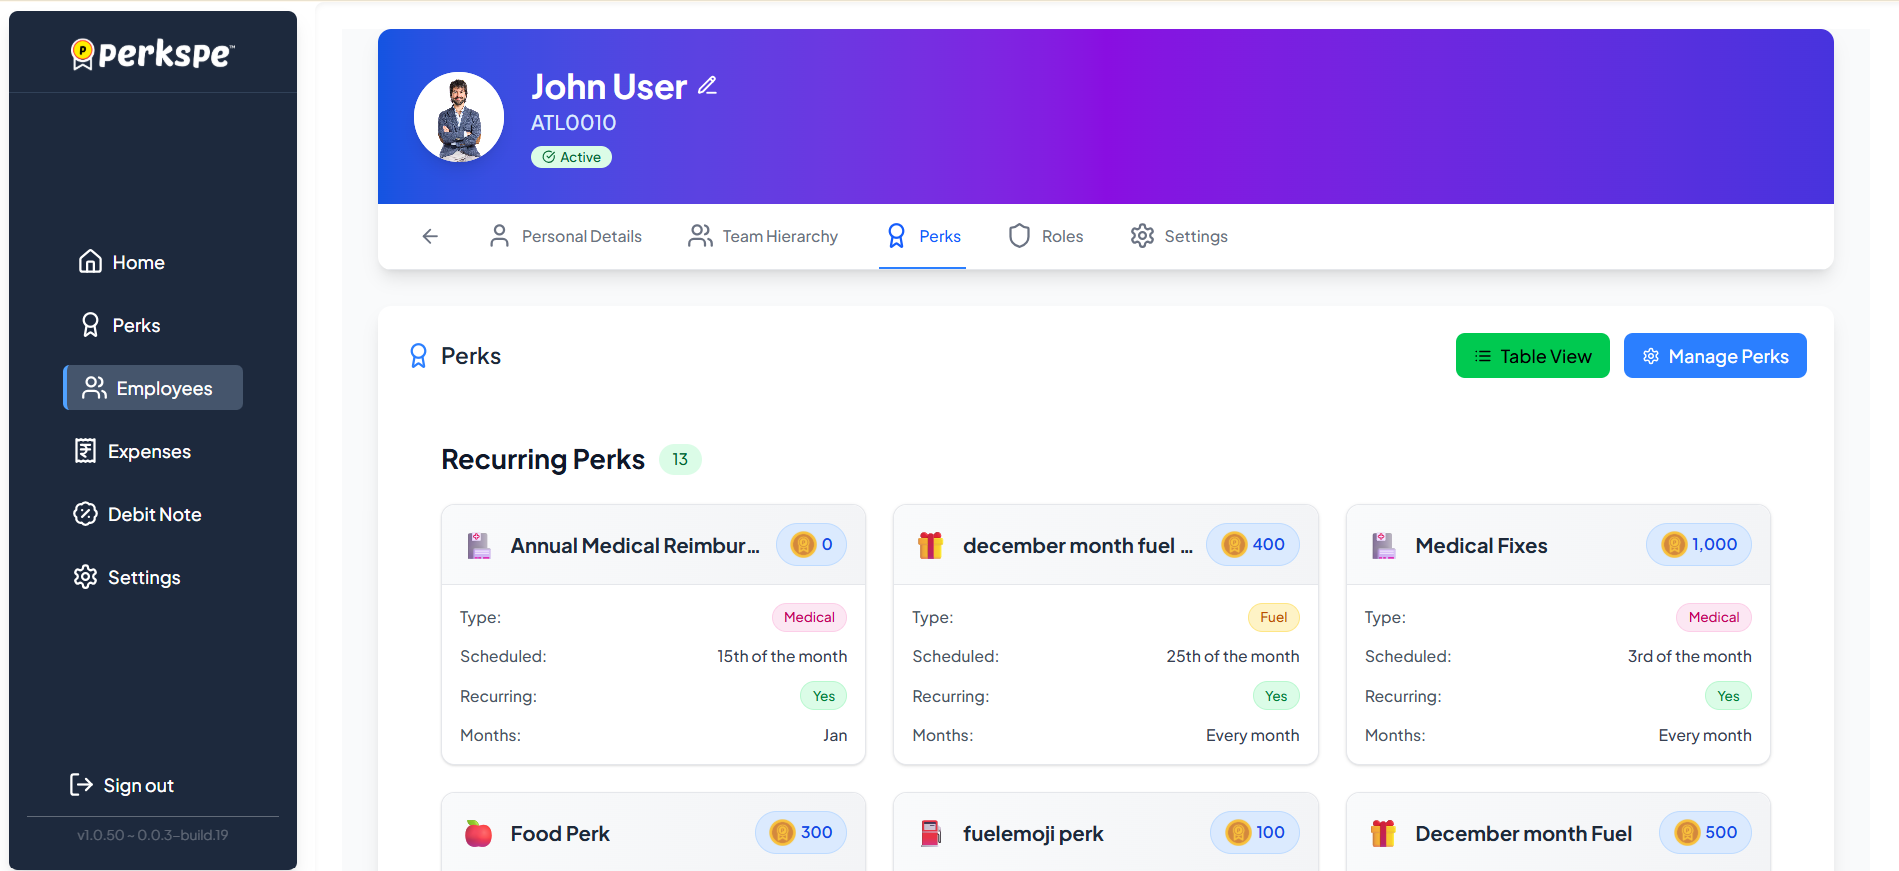
The Perks tab in an employee's profile displays all their assigned perks. Use the view toggle to switch between formats:
Table View: Best for detailed information and sorting by balance.
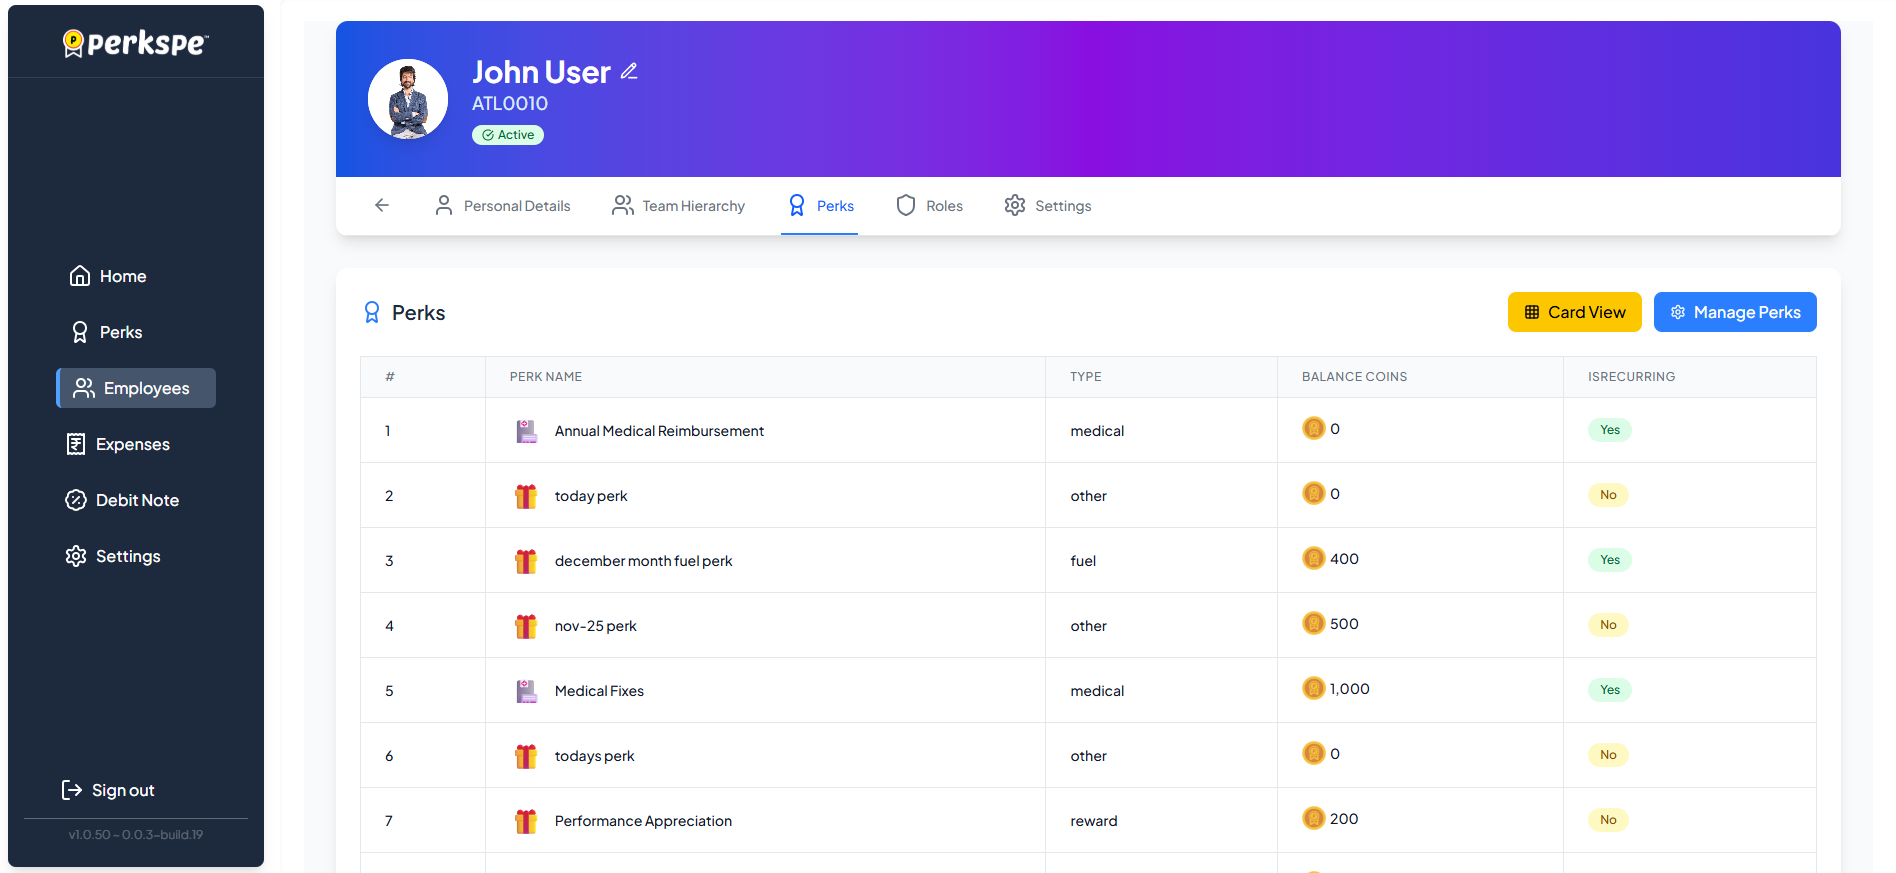
Card View: Best for a quick visual overview of perks by category.